
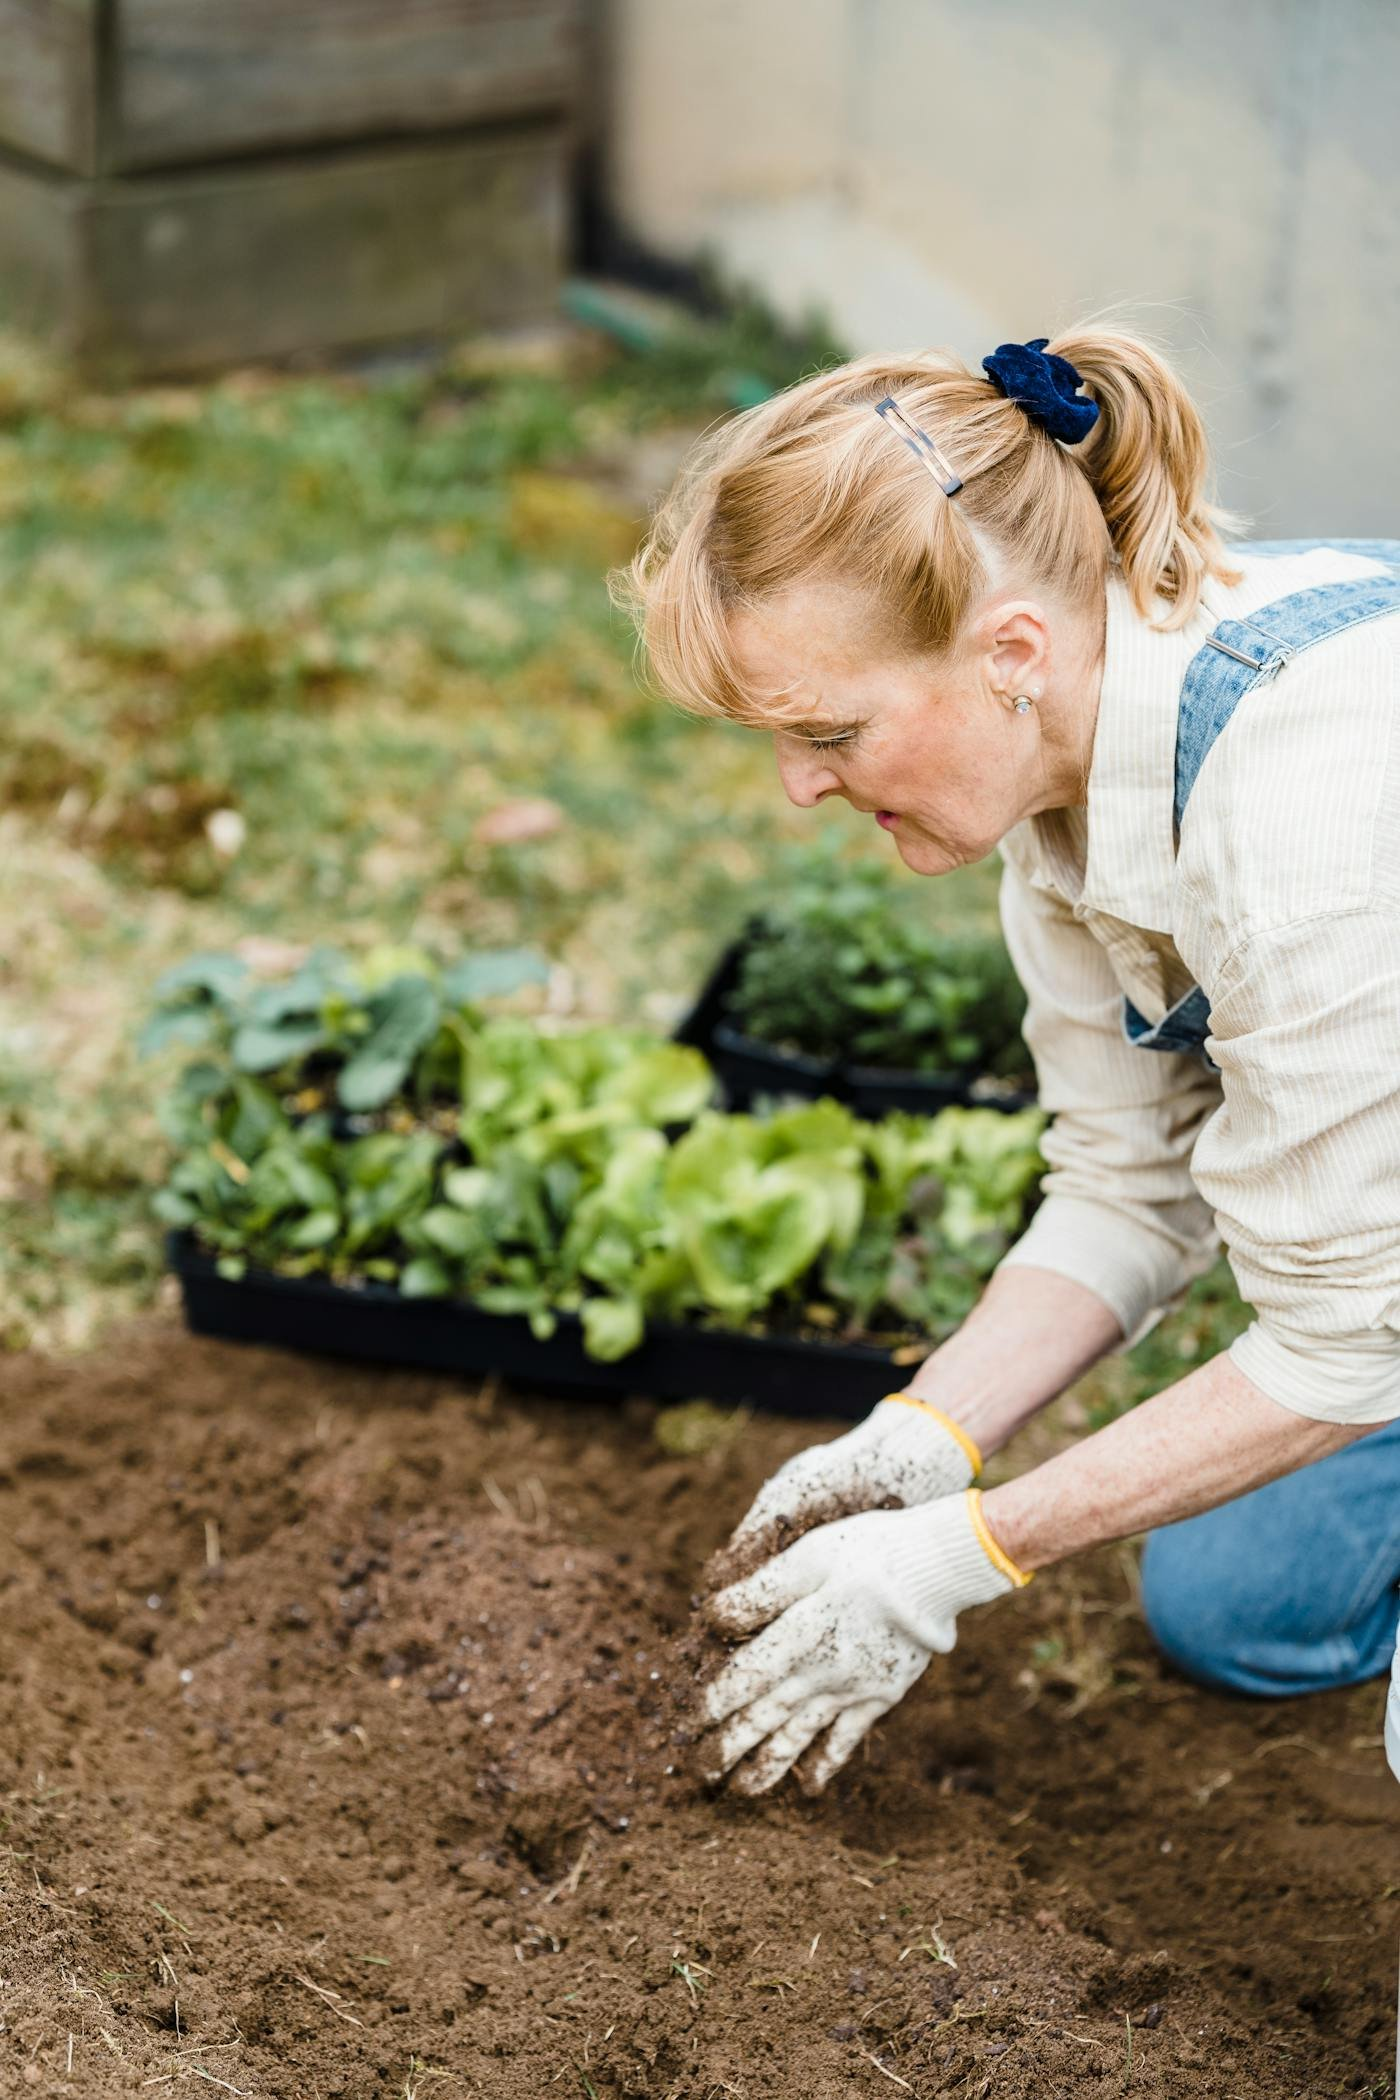
You don’t need a backyard, a greenhouse, or a green thumb to grow real food at home. You need a windowsill, a few containers, and a basic understanding of what plants actually need — light, water, and something to root into. This guide covers the full picture: what to grow, how to set it up, what to buy, and how to keep something in harvest every single week of the year regardless of your space or experience level.
Affiliate Disclosure: HarvestSense.ai is a participant in the Amazon Services LLC Associates Program. This article contains affiliate links — if you purchase through them, we earn a small commission at no extra cost to you. We only recommend products we’d genuinely use. Full disclosure here.
📋 In This Guide
- Why Indoor Food Growing Is Easier Than You Think
- The Big Three Edible Categories
- What You Need to Get Started
- Microgreens: The Fastest Harvest in Your Kitchen
- Herbs: The Everyday Workhorse of the Indoor Edible Garden
- Compact Fruiting Plants for the Ambitious Grower
- The Micro-Succession Framework: Always Have Something Ready
- Troubleshooting Common Problems
- What to Read Next
Affiliate Disclosure: HarvestSense.ai is a participant in the Amazon Services LLC Associates Program. This article contains affiliate links — if you purchase through them, we earn a small commission at no extra cost to you. We only recommend products we’d genuinely use. Full disclosure here.
Why Indoor Food Growing Is Easier Than You Think
The most common reason people don’t start an indoor edible garden is the belief that it requires more than they have — more space, more light, more knowledge. None of that is actually true for the right plants.
Microgreens reach full harvest in 7–10 days and need nothing more than a shallow tray, potting medium, seeds, and a bright window or basic grow light. A countertop herb garden can produce fresh basil, cilantro, and mint year-round in less than a square foot of counter space. Even compact fruiting plants — cherry tomatoes, dwarf peppers, strawberries — do fine indoors if you give them adequate light and the right container size.
What actually stops most people isn’t resources — it’s not knowing where to start. The edible indoor world has a daunting amount of information, much of it written for serious hobbyists with dedicated grow rooms, not apartment dwellers with a kitchen counter and one sunny window. This guide is written specifically for the latter.
One clarification on scope: this guide focuses on food production inside the home — containers, shelves, countertops, and balconies. If you’re interested in larger hydroponic systems for food growing, our High-Rise Food Security guide covers vertical towers, full-spectrum grow setups, and the technology behind high-yield apartment food production in more depth.
The Big Three Edible Categories
Not all edible plants behave the same indoors. After stripping away the noise, virtually everything worth growing indoors falls into one of three categories — each with its own light requirements, harvest timeline, and level of commitment.
Microgreens: high yield, low investment
Microgreens are seedlings harvested at 1–3 inches tall, just after the first true leaves appear. They’re ready in 7–14 days, require almost no space, and deliver a nutritional punch that’s 4–40 times more concentrated than their mature counterparts (per USDA research). Sunflower, pea, radish, broccoli, and amaranth are beginner favorites. No special equipment required beyond a shallow tray and a light source — though a dedicated grow light produces dramatically more consistent results than a windowsill alone.
Herbs: the everyday kitchen workhorse
Herbs are the most immediately practical edible indoor garden category — you use them in real cooking, they grow continuously rather than in a single harvest flush, and they take up almost no space. Basil, mint, chives, parsley, cilantro, and thyme are the core kitchen toolkit. Most do well on a south- or west-facing windowsill. For year-round productivity in lower-light apartments, a countertop hydroponic herb system (like AeroGarden’s herb pod lineup) removes the light variable entirely and produces faster, denser growth than soil-based methods.
Compact fruiting plants: the advanced track
Cherry tomatoes, dwarf peppers, strawberries, and compact cucumbers can all produce meaningful yields indoors — but they require more light (typically 12–16 hours under a full-spectrum LED), larger containers, and more active management than microgreens or herbs. They’re worth it: a productive cherry tomato plant on a sunny balcony or under a dedicated grow light can yield dozens of tomatoes per week at peak season. Our Dwarf Meyer Lemon guide is a deep-dive example of what’s possible in this category.
What You Need to Get Started
You don’t need to buy everything at once. The right starting point depends on which category you’re entering. Here’s what each one actually requires.
Light
Microgreens can get by with a bright window but perform significantly better under even a basic grow light — consistency matters more than intensity at that scale. Herbs need 6+ hours of direct or bright indirect light; a south-facing window works well for most, but anything less than that and a grow light becomes necessary rather than optional. Fruiting plants need the most light of all — 12–16 hours per day, full-spectrum LED.
For all three categories, a Barrina T5 LED grow light (~$32 for a 2-pack) is the most cost-effective entry point. It covers a 2–4 foot shelf, uses minimal electricity, and produces enough full-spectrum output to keep microgreens, herbs, and small fruiting plants healthy year-round. Our dedicated Grow Lights comparison guide covers the full spectrum of options from budget to premium.
Containers
Microgreens: shallow trays 1–2 inches deep. Herbs: 4–6 inch pots minimum, or a dedicated countertop system. Fruiting plants: 5-gallon minimum for tomatoes and peppers, 10–15 gallon for anything larger. Drainage holes are non-negotiable for soil-based growing — roots sitting in standing water is the fastest path to failure.
For fruiting plants where container weight matters — especially on balconies — our Balcony Weight Limit guide covers exactly how to calculate safe loads and which container materials keep weight manageable without sacrificing root volume.
Growing medium
Microgreens can grow in coco coir, peat-based mix, or specialized microgreen pads — soil isn’t strictly necessary at all since they’re harvested before the roots need to draw significant nutrients. Herbs and fruiting plants need a quality potting mix with good drainage and some nutrient content. FoxFarm Happy Frog potting mix (~$20) is a reliable all-purpose choice — pre-amended with mycorrhizae and beneficial microbes, with a pH range that suits most edible plants.
Microgreens: The Fastest Harvest in Your Kitchen
If you want the most immediate return on an indoor edible garden investment — in terms of both food yield and confidence — microgreens are the place to start. The entire cycle from seed to plate takes less than two weeks, the startup cost is under $30, and the learning curve is almost flat.
The basics
You need a shallow growing tray (1020 size is the standard — 10″×20″), a growing medium (coco coir or peat mix works well; reusable grow mats are a cleaner option), seeds, and a light source. Sow seeds densely across the surface of pre-moistened medium, press gently, then cover with a second tray or a humidity dome for the first 2–3 days to encourage germination in the dark. Once sprouts are 1–2 inches tall and have pushed the cover up, move to light. Water from the bottom by pouring water into the lower tray — top-watering microgreens encourages mold.
A set of BOOTSTRAP 1020 seedling trays (~$15 for a 10-pack) gives you enough trays to run multiple varieties simultaneously and stagger your harvests — one tray seeded every 5–7 days means you’re cutting fresh microgreens every week indefinitely.
Best varieties for beginners
Sunflower is the most forgiving and produces the most satisfying yield — large, meaty cotyledons with a mild nutty flavor. Pea shoots are sweet and crisp, and grow tall enough to look dramatic. Radish grows fast (5–7 days) with a pleasant peppery bite. Broccoli is nutritionally one of the most potent options and germinates reliably. Start with a single variety for your first tray to get the process dialed in, then expand from there.
Harvest and use
Harvest by cutting at soil level with clean scissors when cotyledons are fully open and the first true leaves are just beginning to appear — typically day 8–12 depending on variety. Rinse, spin dry, and use immediately or store in a sealed container in the refrigerator for up to 5 days. Microgreens work in salads, on sandwiches, as a garnish, blended into smoothies, or scattered over eggs. A single 1020 tray produces 3–6 ounces of finished microgreens — equivalent to several grocery-store clamshells per harvest.
Herbs: The Everyday Workhorse of the Indoor Edible Garden
An herb garden is the highest-utility edible indoor garden for most people. It costs nothing to maintain once established, produces continuously, and pays for itself in grocery savings within a few weeks. A household that cooks regularly can easily justify $50–150 in setup for a system that produces fresh basil, cilantro, mint, chives, and parsley on demand.
Soil-based approach: the windowsill setup
The simplest herb garden is 4–6 pots on a south-facing windowsill. Use a good potting mix, plant one herb per pot (mixing them leads to competition and uneven watering needs), and water when the top inch of soil feels dry. The main failure mode for windowsill herbs is overwatering — basil in particular rots quickly if kept too wet. Let the pot dry slightly between waterings and ensure drainage holes aren’t blocked.
For apartments without reliable natural light — north-facing windows, high-rise units where direct sun is limited — a grow light changes everything. Even a single Barrina T5 bar positioned 2–4 inches above the herb pots provides enough spectrum and intensity for consistent growth year-round.
Hydroponic approach: countertop herb systems
If you want to remove the variables — no watering guesswork, no natural light dependency, faster growth — a countertop hydroponic herb system is worth the investment. The AeroGarden Harvest (~$86) is the benchmark entry-level option: six pod slots, built-in full-spectrum LED, automated water pump and light timer, and a companion app that tracks pod age and reminds you to top up nutrients. It grows herbs 5x faster than soil, requires almost no maintenance, and sits cleanly on any kitchen counter. Basil planted in an AeroGarden Harvest is typically ready to cut within 3–4 weeks and will produce continuously for 6+ months.
Which herbs to grow
Start with what you actually cook with. If you make Italian food, basil and oregano. If you cook Asian food, Thai basil, cilantro, and mint. If you cook broadly, the classic kitchen five — basil, chives, parsley, mint, thyme — covers most recipes. Avoid herbs that require a long dormancy period or extensive root depth for indoor growing; rosemary and lavender want a lot of light and dry conditions that most indoor setups can’t replicate consistently.
Compact Fruiting Plants for the Ambitious Grower
Growing fruiting plants indoors is more demanding than microgreens or herbs — but the payoff is proportionally larger. A productive cherry tomato plant in a sunny apartment or on a balcony under a grow light is a genuinely different experience from buying tomatoes at a store. Here’s what’s realistic and what’s not.
What actually works indoors
Cherry and grape tomatoes are the most reliable indoor fruiting crop. Compact determinate varieties like Tumbling Tom, Tiny Tim, or Window Box Roma stay under 2 feet tall and produce continuously when given enough light. They need 14–16 hours of full-spectrum light per day if relying on artificial lighting — this is where a quality LED like the Spider Farmer SF1000D or AC Infinity IONFRAME EVO3 earns its place. See our dedicated grow lights guide for the full comparison.
Dwarf peppers (Capsicum annuum compact varieties) produce well indoors with the same light requirements as tomatoes. They’re more drought-tolerant, require no pollination assistance in most cases, and the plants are compact enough for a 5-gallon container.
Strawberries (particularly everbearing varieties like Albion or Seascape) do surprisingly well indoors. They need 10–12 hours of light, stay compact, and produce small but intensely flavored fruit. A self-watering planter — like the Lechuza CLASSICO LS 50 (~$150) — is particularly well-suited for strawberries and compact tomatoes: the sub-irrigation reservoir eliminates the feast-or-famine watering cycle that causes blossom drop and inconsistent fruit development.
What doesn’t work well indoors
Avoid large-fruiting tomatoes (they need more light than most indoor setups can deliver), corn, squash, melons, and most root vegetables. These either require pollination by wind or insects that indoor environments can’t replicate, or they need root depth and soil volume that containers can’t provide at reasonable scale. Stick to plants that have been specifically selected or bred for compact indoor growing, and you’ll save yourself a lot of frustration.

The Micro-Succession Framework: Always Have Something Ready
The most common frustration with edible indoor gardening isn’t growing failure — it’s feast-or-famine cycles. You harvest all your microgreens at once, then wait two weeks for the next batch. Your herb garden gets cut back and takes three weeks to recover. You get one flush of strawberries and then nothing for a month.
The solution is succession planting — staggering your sowings and harvests so that something is always ready to pick. Applied to a small indoor setup, it looks like this:
The 3-track system
Track 1 — Weekly microgreen rotation: Sow one tray of microgreens every 5–7 days. With a standard 1020 tray setup, you’ll always have one tray in germination, one in active growth, and one ready to cut. Three trays, perpetual supply. The whole operation fits on a single shelf under one grow light bar.
Track 2 — Continuous herb harvest: The key to a continuous herb supply is cutting technique. Never harvest more than one-third of a plant at once, and always cut above a leaf node to encourage branching rather than just stem regrowth. With a 4–6 pot herb rotation, if you harvest one plant per week and rotate through, each plant gets 4–6 weeks of recovery time — long enough to fully regenerate before its next cut.
Track 3 — Staggered fruiting plants: For cherry tomatoes and strawberries, maintain 2–3 plants at different stages of production. When one plant starts to decline (typically after 6–9 months for tomatoes), start a new seedling in a separate container so it’s coming into production as the older plant phases out. This requires a bit of forward planning — start your replacement seedlings 6–8 weeks before you expect to need them.
Making it fit in small spaces
The entire 3-track system can run in less than 6 square feet of floor and shelf space. A single 4-foot shelving unit with two grow light bars handles the microgreen and herb tracks easily. The fruiting track works best near a window (south or west facing) with a supplemental grow light for the low-light months. None of this requires a dedicated room or significant investment — the total setup cost for a functional 3-track edible garden runs $150–400 depending on how much of the equipment you already own.
Troubleshooting Common Problems
Most indoor edible garden failures come from a small set of repeating mistakes. Here’s how to identify and fix the most common ones.
Leggy, pale seedlings
Long, thin stems reaching toward the light source, pale green or yellowish color — this is etiolation, caused by insufficient light. Move the plant closer to the light source or increase the daily light duration. For microgreens, keep the light bar 2–4 inches above the canopy; for herbs and fruiting plants, 6–12 inches depending on the light intensity. If your setup has a fixed window and the plants are still etiolating, a grow light is the fix.
Mold on microgreens
White fuzzy mold on microgreen trays is almost always caused by overhead watering, poor airflow, or too-dense seeding. Switch to bottom-watering only (pour water into a lower tray and let the medium absorb it from the bottom), add a small fan nearby for airflow, and reduce seed density on your next sowing. A light spray of diluted hydrogen peroxide (1:10 ratio with water) on affected trays can help arrest existing mold without harming seedlings.
Herbs turning yellow
Yellowing herb leaves usually signal one of three things: overwatering (most common), nitrogen deficiency (common in pots that haven’t been fertilized in months), or root-bound conditions (the pot is too small). Check the soil moisture first — if it’s consistently wet, let it dry out more between waterings. If the soil moisture is fine, a diluted liquid fertilizer application (once every 2–3 weeks during active growth) will address nitrogen deficiency within a week or two.
Fruiting plants flowering but not fruiting
Tomatoes and peppers grown indoors sometimes flower without setting fruit because there’s no wind or insect movement to transfer pollen. The fix is simple: gently shake the plant or use a soft paintbrush or cotton swab to transfer pollen from flower to flower once a day when flowers are open. This mimics what wind and bees do outdoors and dramatically improves fruit set. Do it for a week when you see the first flowers appear and the plant will usually take over from there.
What to Read Next
This guide gives you the full foundation. The spokes below go deeper on the two highest-impact starting points in the edible indoor garden:
- Microgreens for Beginners: The Fastest Harvest in Your Kitchen (2026)
- Best Indoor Herb Garden Kits for Small Spaces in 2026
And if you want to go deeper on any related topic covered in this guide:
- The 2026 Master Guide to High-Rise Food Security — hydroponics, vertical towers, and AI-powered systems
- Best Grow Lights for Apartments (2026) — full lighting comparison
- Growing Dwarf Meyer Lemons Indoors — the full compact fruiting deep-dive
- Apartment Balcony Weight Limits: Your Safe Container Garden Guide
Questions about your specific setup? Send us a note — We read every message and try to respond to every genuine question about urban growing.